There is requirement when user required data from multiple tables, For the results to be calculated correctly in reports, relationships between those tables are required. It’s simple to create those associations with Power BI Desktop.
The autodetect feature will take care of it. However, some situations when there is a need to create relationships from scratch or modify existing ones. It’s crucial to comprehend relationships in Power BI Desktop and how to construct and change them in either case.
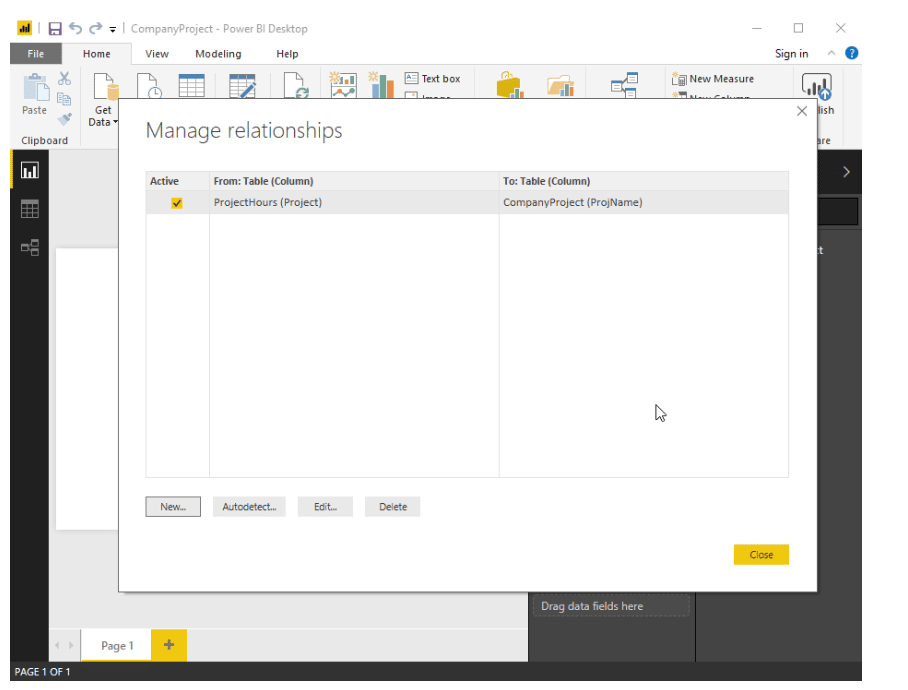
Create Relationship Manually
- On the Modelling tab, select Manage relationships > New.
- In the Create relationship dialog box, in the first table drop-down list, select a table. Select the column you want to use in the relationship.
- In the second table drop-down list, select the other table you want in the relationship and select the other column to use, and then select OK.
For new connection, Power BI Desktop by default sets the choices Cardinality (direction), Cross filter direction, and make this relationship active. However, if necessary, alter these settings.